I was lucky enough to be chosen by Bethney with May Arts to participate in another fantastic challenge. This time their "Partner in Craft" was Helmar. Our task was to use some of the amazing trims/ribbons from May Arts & use the Helmar 450 Quick Dry Adhesive for our project. I have a quick video for you too which shows the projects up a bit closer so you can see all of the detail.
First let me show you what I made then I'll show you what I had to work with : )

And here's what we were given to work with (the trims reflect what I chose)

I knew right away what I wanted to create...so I picked up some of the craft cones for the base of my trees...grabbed my inks & glimmer mists and went to town...Christmas Town that is..haha.


Ok I almost didn't put this pic in here but I just had to...I didn't take pics during the inking projcess for my pom pom trim as my fingers were as red as this parchment paper...my hubby would not have been happy with me touching the fancy pants camera with this stuff all over my hands. So I took a pic of the aftermath...sorta looks like a crime scene huh? I had red fingers for about two days..haha.


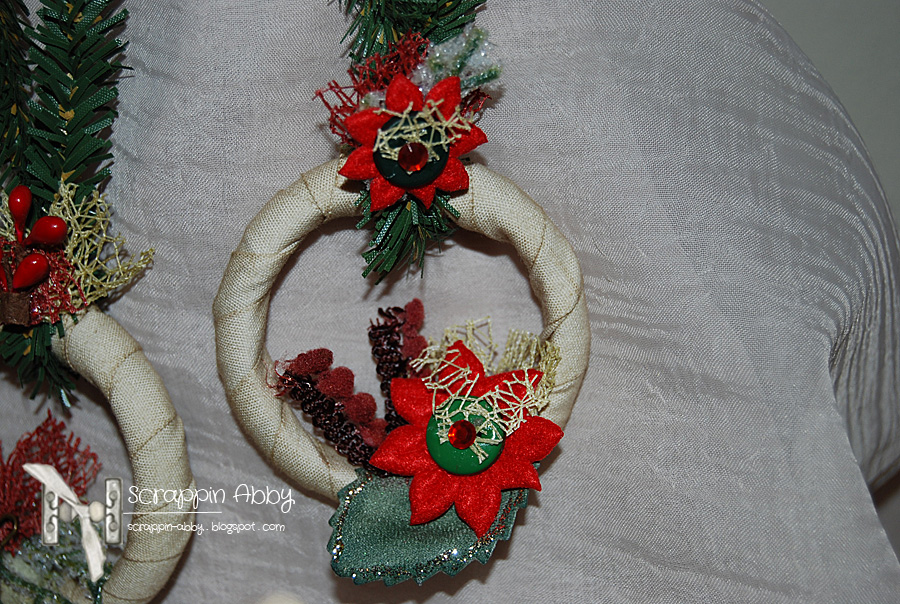
I again mixed a few glimmer mists for the leaves to give them a different hue. I edged them with some Stickles to make them sort of pop from the rest of the greenery on the tree. Here you can see the Mustard Seed mesh a little better.


This was such a fun project to work on and it sort of put me out of my comfort zone a bit since I didn't use any paper or make a mini album this time...haha. Seriously though I do LOVE May Arts ribbon and I was truly honored that Bethney chose my idea and I was given the opportunity to participate in her challenges once again.
Be sure to check out the May Arts blog for all of the other amazing projects.
Thanks for stopping by and for checking out another scrappy post.
Happy Scrappin!!
Products used:
May Arts trims/ribbons
Helmar 450 Quick Dry Adhesive
Tattered Angels Glimmer Mists-Mustard Seed, Candy Apple Red, Santa Baby, Forest Green
Reindeer Moss-scrappy stash
Frosted greenery-scrappy stash
Stickles
Shower rings
Jingle bell-scrappy stash
Holiday berries-scrappy stash
Tim Holtz Memento pin
Tim Holtz Distress Inks-Frayed Burlap, Forest Moss
Tim Holtz Distress Stain-Fired Brick
No comments:
Post a Comment
Creative Comments