Hey everyone..today I want to share a memory box I created for my friend's daughter's wedding. Be warned there are quite a few pics as I wanted to show you the box before I altered it...during the process...and the final result : )
My friend asked me if I could alter this box they purchased from a local store for her daughter's wedding. Instead of doing a unity candle during the ceremony they decided to have the bride/groom's parents put something memorable in the box along with a few other family members. They will open this on their 5 year wedding anniversary...what a great idea.
Here's the completed box...
And here's the box before I altered it...
As you can see...this box was pink with spots all over so in order to make this match their wedding colors I had no choice but to paint the entire outside.
I removed all of the hardware & taped off the leather straps on the entire box.
I put two coats of beige paint on the lid and bottom part of the box..sort of like a coat of primer so the original colors wouldn't show through with the final paint color I selected.
I mixed some brown & purple paint together to come up with the color I wanted...I had the invitation & the color I mixed up matched perfectly.
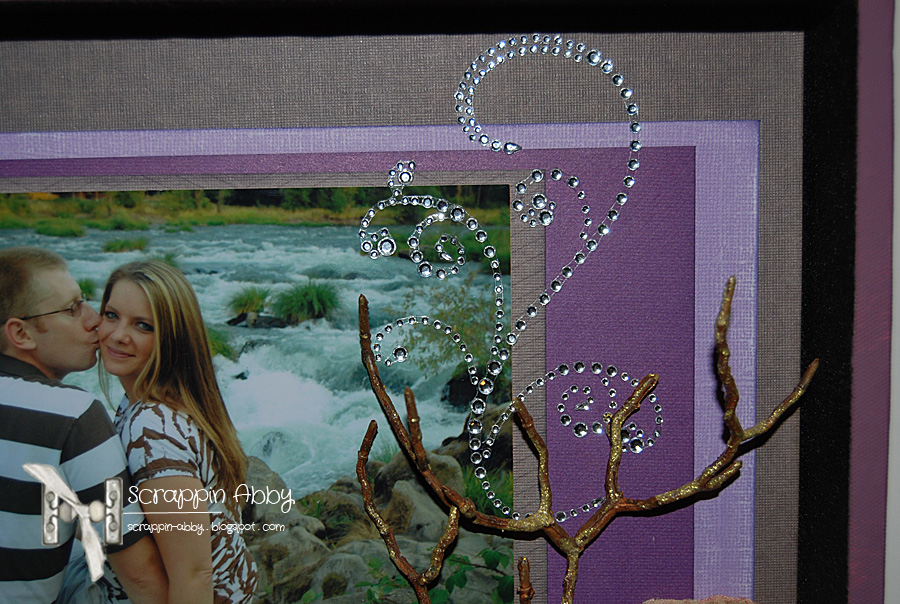
Here's the lid after it was all dry. I wanted to create a layout on the inside of the lid as it would be open during the ceremony and I wanted it to look beautiful for the bride.
The next few photos are the stages of creating the layers for the layout...
How do you like my high tech method of pressing the flowers into the liquid adhesive..haha...hey it worked : )
Now for some photos of the completed project...
The bride was going to be storing this for 5 years in a box so I didn't want to put a lot of height on the lid so she could store this easier per her request.
It was kind of a pain taping off the entire box & taking off all the hardware but I think the end result was worth the extra steps. I wanted the outside to be seamless and almost appear as if the box was originally made with this color.
I just LOVE how this box turned out & to be honest with you..I wanted to keep this for myself..haha. I love purple so this project was right up my design alley for sure!!
Thanks for making it through all of the photos...I felt it was important to show the before..during..and the after of this project so you could see all the phases of altering. I really enjoy these types of projects & I'm in the middle of another altered project right now..be sure to come back so you can check that one out too : ) I do want to mention that 3 Girl Jam has started a new challenge blog...you can read all about it HERE! There are some FAB challenges lined up with some great prizes as well as two giveaways on the challenge blog...so be sure to check it out..you won't want to miss it. I'm on the 3 Girl Jam DT and we are all very excited about this new challenge blog : )
I'm also submitting this post & project for the Basic Grey Altered Artist DT spot..so keep your fingers & toes crossed for me : )
Hey everyone...after being down for a week since having surgery last Monday I'm starting to feel well enough to sit up and do a much needed blog post : )
First I want to thank everyone for all the kinds comments & well wishes...I so appreciated each and every one : )
Now I have something really exciting to share with you today. I was one of the 25 lucky crafters to be selected by Bethney with May Arts to create & play with her selection of silk ribbon. The process was to send Bethney an email with your project idea and how you would incorporate the selected silk ribbons in a craft item. She liked mine (yay) and sent me 8 yards of yummy ribbon lovlieness. You can read all about the challenge & see the entries HERE.
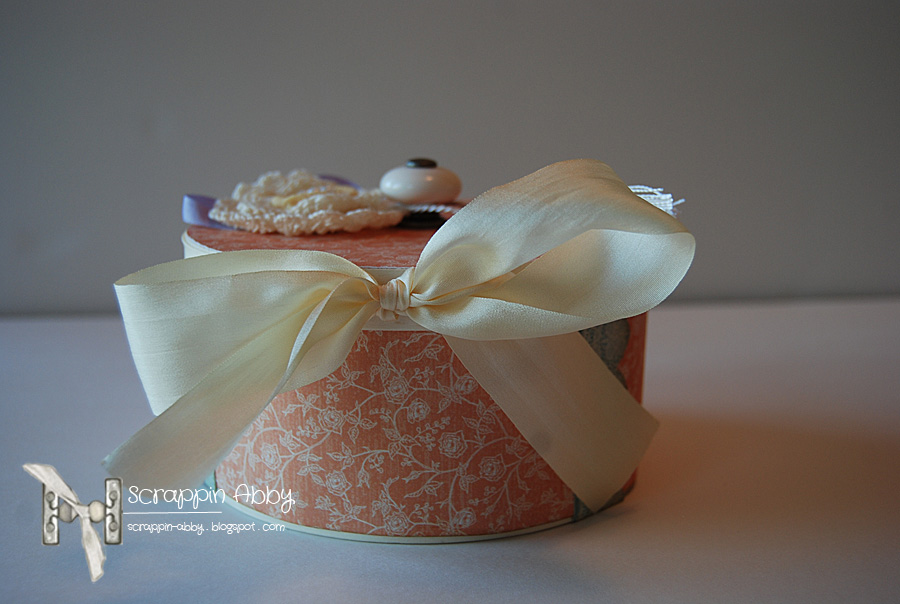
Without further ado...here's my project....a vintage powder puff box with a mini (be prepared for quite a few pics)
I altered a round wood candy box into a vintage powder puff box & created a mini to go inside. The photos below will not only show you the box itself but also each page of the mini I created...please sit back & enjoy : )
I have to tell you that as soon as I saw the silk ribbon selection Bethney posted on the May Arts blog, I knew instantly this is what I wanted design & create using that yummy ribbon. I seriously had a lot of fun creating this project. I love taking an item that had another purpose & create something else with it that others can enjoy.
Thanks for taking the time to check out my video and project. It was truly an honor for me to have the opportunity to create & play with some FAB May Arts ribbon.
Be sure to come back for another scrappy post...tomorrow is my first post with 3 Girl Jam and I'm really excited about it : )