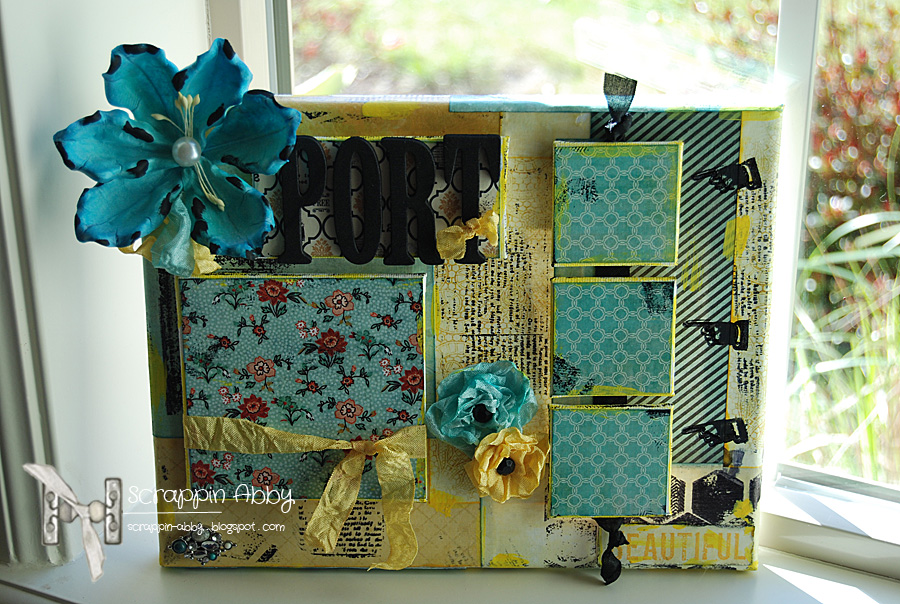
Hi Friends!! Welcome back for another scrappy post. Today I'll be sharing a mixed media canvas that I created for one of my friends which also happens to be my DT project for 3 Girl Jam.
Here's how it turned out.....
I used the Aqua Splash, Tuxedo and Daffodil Crinkle Ribbons from 3GJ. I think they work so well together on this canvas don't you? I also have a short video that shows you the canvas up close as well as the stamps, paper collections and other techniques I used to create this.
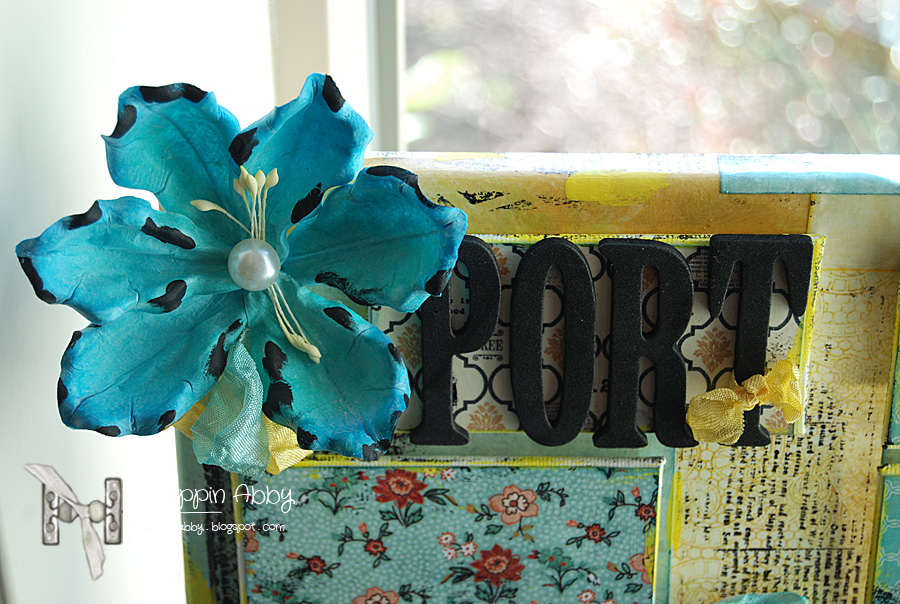
Here are some additional photos....
I used a mix of 3 different sizes of canvas to create some dimension and photo space on the 8x10 canvas. You can also see the sweet flowers I made with the 3GJ crinkle ribbon. I love 3 Girl Jam crinkle ribbon...it adds so much to your projects...it really does. I wanted to get a photo of Alisha with the canvas when I gave it to her at work on Monday but alas I forgot..lol. I can tell you though she seemed to really like it and that's what really matters. Be sure to stop by the 3GJ shop and pick yourself up some yummy crinkle ribbon goodness if you haven't snatched some up already. Thanks for stopping by and for checking out another scrappy post. Happy Craftin!! Products used: 3 Girl Jam Crinkle Ribbon-Aqua Splash, Tuxedo, Daffodil Glitz Vintage Blue paper collection My Minds Eye Memorable paper collection Teresa Collins Vintage Finds paper collection Basic Grey Serenade & Lucille paper collections Mon Ami Gabby-latex flower Mod Podge Craft paint Alcohol ink Scor-tape Ranger Archivers ink CTMH ink Adorn it thickers Stamps used: 7 Gypsies, My Minds Eye, Tanner Bell, Glitz, Tim Holtz
Hey everyone..today I want to share a memory box I created for my friend's daughter's wedding. Be warned there are quite a few pics as I wanted to show you the box before I altered it...during the process...and the final result : )
My friend asked me if I could alter this box they purchased from a local store for her daughter's wedding. Instead of doing a unity candle during the ceremony they decided to have the bride/groom's parents put something memorable in the box along with a few other family members. They will open this on their 5 year wedding anniversary...what a great idea.
Here's the completed box...
And here's the box before I altered it...
As you can see...this box was pink with spots all over so in order to make this match their wedding colors I had no choice but to paint the entire outside.
I removed all of the hardware & taped off the leather straps on the entire box.
I put two coats of beige paint on the lid and bottom part of the box..sort of like a coat of primer so the original colors wouldn't show through with the final paint color I selected.
I mixed some brown & purple paint together to come up with the color I wanted...I had the invitation & the color I mixed up matched perfectly.
Here's the lid after it was all dry. I wanted to create a layout on the inside of the lid as it would be open during the ceremony and I wanted it to look beautiful for the bride.
The next few photos are the stages of creating the layers for the layout...
How do you like my high tech method of pressing the flowers into the liquid adhesive..haha...hey it worked : )
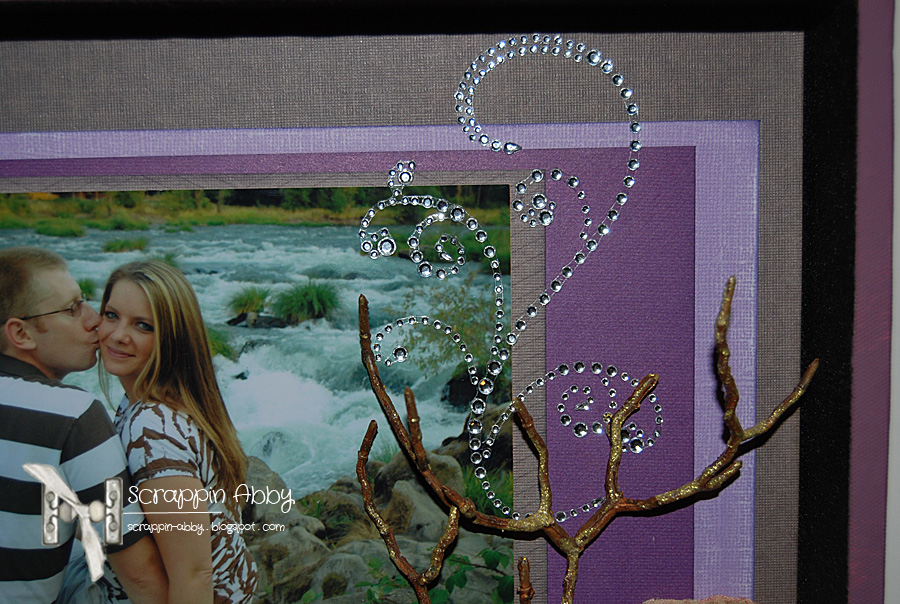
Now for some photos of the completed project...
The bride was going to be storing this for 5 years in a box so I didn't want to put a lot of height on the lid so she could store this easier per her request.
It was kind of a pain taping off the entire box & taking off all the hardware but I think the end result was worth the extra steps. I wanted the outside to be seamless and almost appear as if the box was originally made with this color.
I just LOVE how this box turned out & to be honest with you..I wanted to keep this for myself..haha. I love purple so this project was right up my design alley for sure!!
Thanks for making it through all of the photos...I felt it was important to show the before..during..and the after of this project so you could see all the phases of altering. I really enjoy these types of projects & I'm in the middle of another altered project right now..be sure to come back so you can check that one out too : ) I do want to mention that 3 Girl Jam has started a new challenge blog...you can read all about it HERE! There are some FAB challenges lined up with some great prizes as well as two giveaways on the challenge blog...so be sure to check it out..you won't want to miss it. I'm on the 3 Girl Jam DT and we are all very excited about this new challenge blog : )
I'm also submitting this post & project for the Basic Grey Altered Artist DT spot..so keep your fingers & toes crossed for me : )
Hey everyone..welcome back for another FAB weekly challenge with The Perfect Sentiment We have another fun challenge in store for you.
This week your challenge is to create a card using your favorite scripture or quote as your sentiment (which must be on the front of your card) and the twist is to use the sketch below (I'll show you this in just a moment).
Here's my take on this week's challenge...
And here's the sketch......
This was designed by one of my PSCB DT members, Karen Conner
For this card I used some CS from the Tim Holtz/Ranger Distress Collection & from the Lily Kate collection from Basic Grey.
My bow slipped down a bit but I didn't notice this until after I took my pics..sigh. Anyway..I tied some yummy crinkle ribbon from May Arts across a strip of vintage lace. You can see some bling from Prima back there too : )
Love fabric flowers..this one is distressable/mistable and is so tattery looking..LOVE!!
A little more of that lovely Prima bling : )
I really don't have any scriputural stamps in my collection-gonna have to change that-so luckily I had some wonderful sayings from Quick Quotes. The vintage button is one of my many finds while out junkin.
A little sneaky peak at the inside : )
I really love how just lightly sanding the edges of this TH CS changes the look of the card.
Are you ready for some FAB inspiration from my fellow DT members??? Just click on their name below : )
Shelly is offering up one free digi for this week's winner. She's been a long time sponsor of The Perfect Sentiment so be sure to stop by her store and give her some love : )
Now that you've been inspired by the PSDT...head into your creative space and start working on your card for this week's challenge. You can check out all of the details surrounding the challenge HERE.
Don't forget I still have my First 100 followers Giveaway going on...once I reach 100 I will be giving away the HUGE pile of scrappy goodies I have. You can read all about it HERE.
Thanks for stopping by and don't forget to come back for another scrappy post : )
Happy Scrappin!!
Products used: Tim Holtz Rander Distress Collection-Shabby Shutters CS Basic Grey-Lily Kate Collection:Rain & Parasol Quick Quotes-Sentiment May Arts-Crinkle purple ribbon The Twinery-Honeydew Tim Holtz Idea-ology staple Tim Holtz Distress Ink-Frayed Burlap Fabric flower-scrappy stash Vintage button-scrappy stash Green trim-scrappy stash Prima Bling