Hi Friends! Wow am I so excited for today's post. We the DT a Scor-pal have teamed up with May Arts and their amazing DT for a super fun two day blog hop!! You should have just come from Jen's blog...if not click on her name so you can start from the beginning : )
For my tutorial I made some Chic Grunge paper cones....
*I do have a video on my YouTube Channel which will be up later today..sorry Blogger isn't playing nice & wouldn't let me put it in this post : )
To create these Chic Grunge paper cones I used:
To make the paper cones, I cut the card stock I wanted to use for each cone into 8 1/2 x 8 1/2 pieces...
I used some sprays & mists on my card stock which is why it's curled up a bit.
Next I placed the card stock on my Scor-pal on the diagonal and made a score mark down the center....
Then I measured 4" on each side of that score mark and drew a line using a pencil. This step creates the "flap" for your pocket front.
Place the card stock back on your Scor-pal and score on your pencil-marked line.
Now it's time to create the score marks for the sides of the paper cone. Placing your card stock on your Scor-pal, you're going to score from the top right edge of your flap to the bottom point of your paper. You'll do this on each side of your initial score line.
Fold along your score lines once you're done...
I wanted to cover the white flap so I adhered some Scor-tape to the flap and put a piece of the card stock I trimmed off earlier over the top and use my craft knife to cut away the excess.
I used more Scor-tape to close the flaps to create the paper cone...
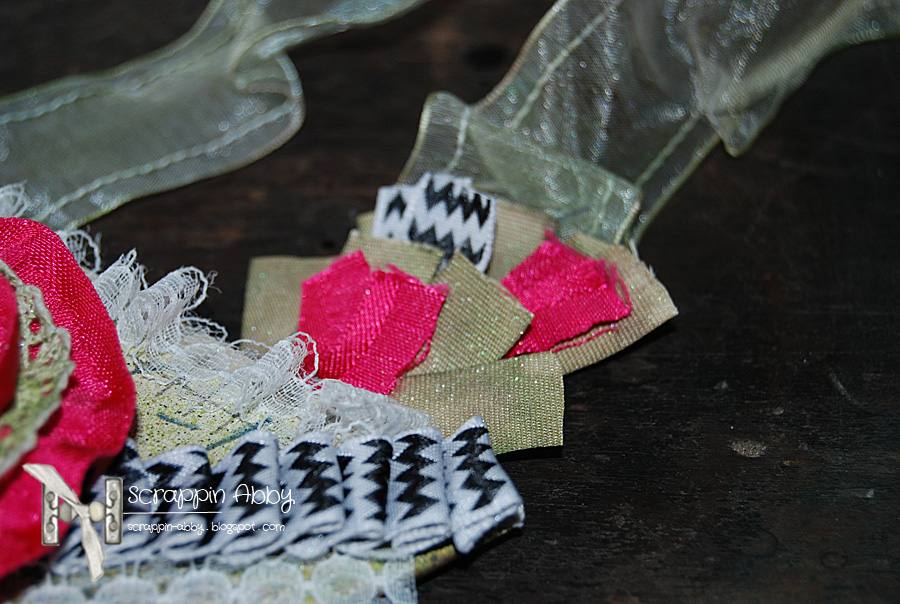
The next few photos show you how I used the Scor-tape to embelish the paper cones using the May Arts ribbons & trims...
And now some photos of the completed Chic Grunge paper cones...
I hope I've been able to show you some fun & new ways to use your Scor-pal for projects using the yummy ribbons & trims from May Arts.
Now here's the lineup for the rest of the hop just in case you get lost along the way...your next stop is going to be with Jenifer
Scor-pal will be giving away a full sized Scor-Pal scoring board! And May Arts will be
giving away some of their fantastic ribbon. Leave comments on any of the stops
on the hop for chances to win these fun prizes. The more comments you leave,
the greater your chances.
Enjoy the rest of hop and be sure to check back for Day Two of the Scor-pal & May Arts Blog Hop...be sure to start at the Scor-pal blog so you can see the lineup for this day.
Happy Craftin : )